

In this post I talked about ways to use up those awkward left over offcuts of fabric in your stash that are too small to make a garment, but too big to just discard. Now let’s get serious and tackle those bigger pieces of fabric in your stash – yes, you know what I mean, those lengths you bought on impulse that are languishing in the bag with the receipt completely forgotten about ……! It’s fine, we’ve all done it, but they’re taking up valuable space, so here’s my four-step plan for tackling them.
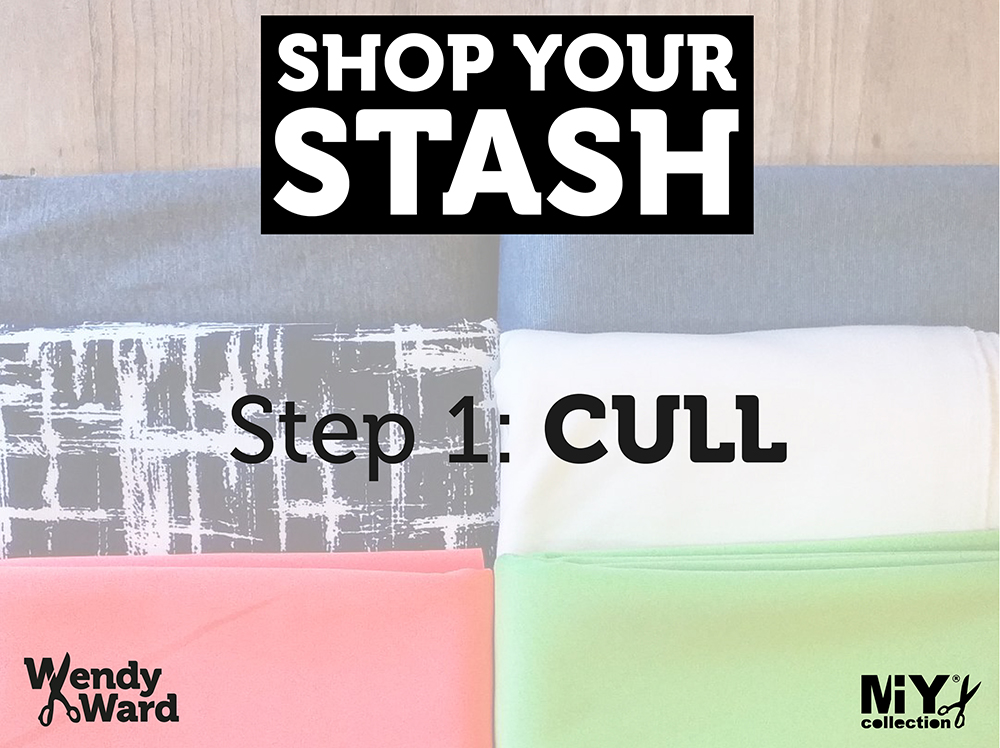
Tackle the stash head on and prepare to be harsh and brutally honest. Pull out any fabrics that are in colours and prints that don’t coordinate with the rest of your wardrobe and that you’ve never worn before; if you’ve never bought clothes in those colours or prints you’re unlikely to wear anything you make in them. Do this in daylight with a mirror close by – if you’re unsure about a fabric, hold it up to your face, you’ll soon get a feeling for whether you’d be likely to wear it.
Put the fabrics that pass the cull to one side ready for the next steps. Get rid of the fabrics that didn’t make the grade. There are plenty of good things you can do with your rejects:
- use it for non-dressmaking sewing
- if you have storage space – keep it for making toiles
- sell it online – there’s always Ebay, but social media sites like Instagram are becoming popular in the sewing community for regular “Destash Sales”
- organise a fabric swap with some stitchy friends at a class or sewcial meet-up
- donate it to a charity or school.

Once you have your carefully edited pile of usable fabrics, make sure each piece is washed so that it’s all ready to just unfold and cut. Pre-washing is important and I’ve written more about it here; it removes any loose dye and encourages any shrinkage in the fabric. Natural fibres are most prone to shrinkage (especially cotton and wool), as are regenerated fibres such as viscose and rayon. Knitted fabrics are also more likely to shrink than woven fabrics.
Here’s a guide to how much different fibres are likely to shrink:
- wool by up to 15%
- viscose 8%
- cotton 10%
By now you probably won’t have a note of the washing instructions for your fabrics, not a problem, what I tend to do is put fabric on the machine cycle that I want to be able to use for my finished clothes. Personally I don’t dry clean, so if a fabric can’t withstand machine washing, I’m unlikely to use it. If you have any fabric in your pile that you know may require more careful cleaning such as silk or wool, put them on a delicate, cool machine wash or hand wash them if they’re very precious.
Dry knitted fabrics flat and woven fabrics on a line, airer or over a shower rail. Never drape any fabric over anything with protruding parts (like the backs of chairs) to dry as they will distort and stretch the area of the fabric that covers them and these stretched areas can be almost impossible to remove once your fabric is dry.
Label each piece of fabric with the following information to save time when shopping your stash:
- fibre content (if you can remember – you can always do a burn test to check)
- whether the fabric is pre-washed
- the size of the piece.
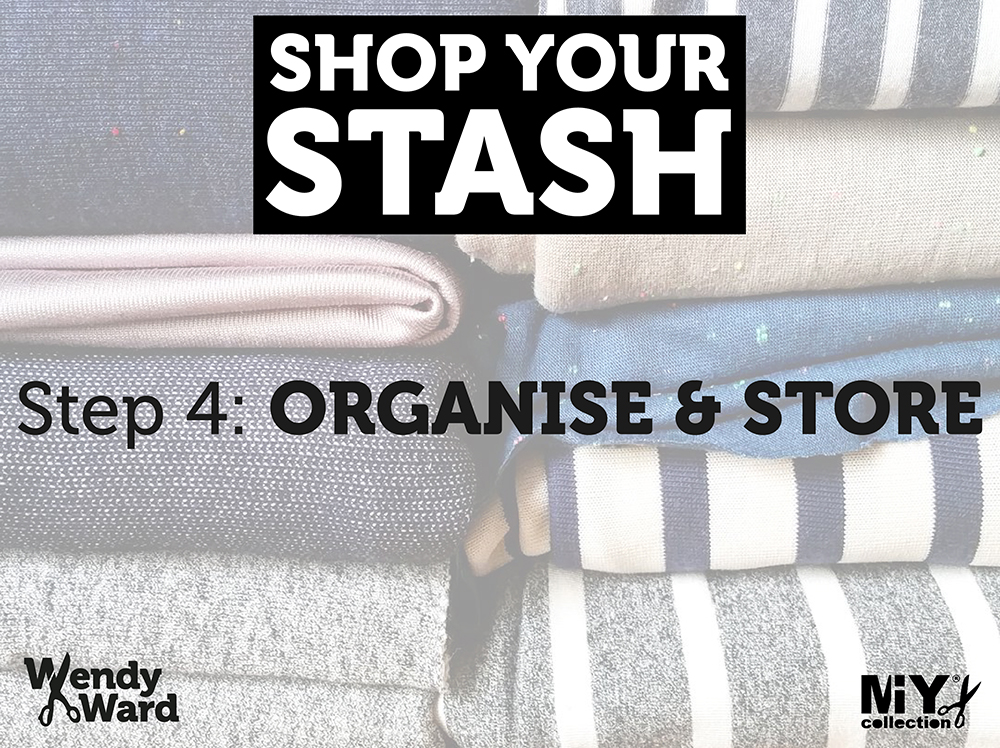
Then fold or roll the fabric. There are arguments for and against both folding and rolling fabric; rolling tends to reduce creasing, and although I find rolling takes up more space, rolled lengths of fabric stored on their ends can make it easier to see at a glance what fabrics you have.
The key to storage is visibility; I like to store my fabric in clear plastic boxes. If you’re lucky enough to have the space, fabric stored on shelves is most accessible, but if you’re short on space, vac pack bags like these are great space savers while keeping your fabric visible. It’s vital to shopping and using your stash to store it in a way that makes it easy to see what you have; if you chuck your stash all together in a box or suitcase under the bed it won’t work, it will never be seen again. Trust me, I’m speaking from experience!
Finally, beware of every fabric stash’s enemy – the moth! I always put moth balls (or similar) in my storage boxes and spray wool and silk with moth proofing spray before putting them into storage.
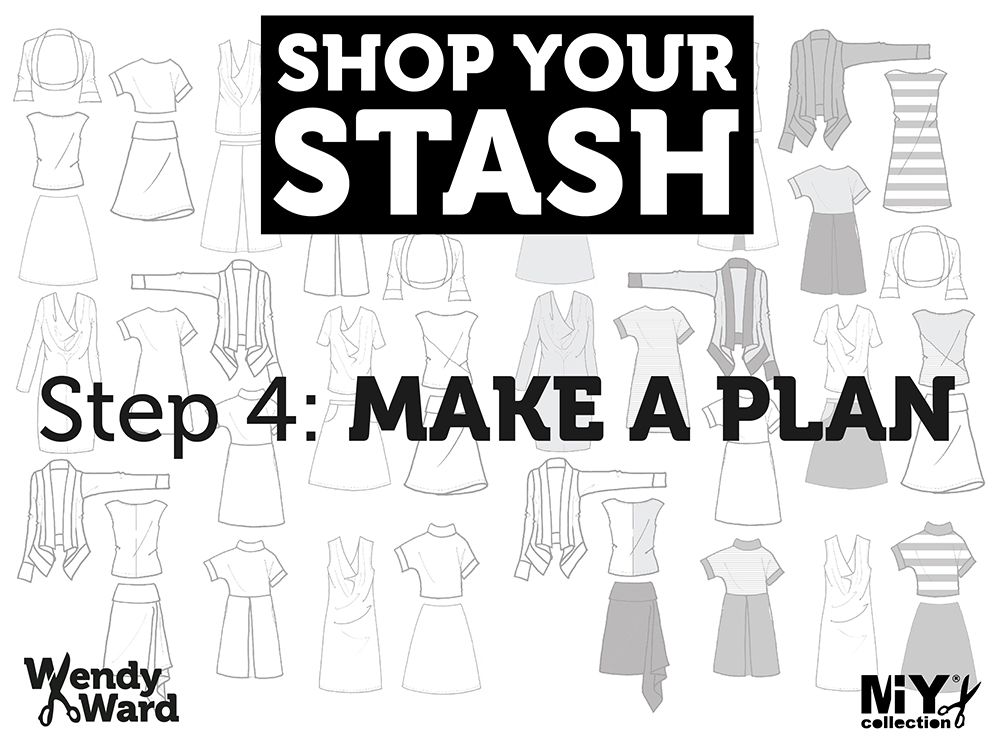
Try and think ahead with your sewing. Unless you’re making lots of really quick-to-sew garments, anticipate your needs and start making in advance. I find it really difficult to sew out of season; I just don’t fancy sewing heavy warm wools in summer and likewise, floaty silks and cotton lawns just don’t appeal in the depths of winter. But, unless you want to wait a whole year to wear your makes, start more challenging seasonal projects ahead of season; for example, plan and make a start on a winter coat project at the end of the summer. You can always keep a few easy quick seasonal makes going alongside your big projects; a cool tank top or t-shirt dress isn’t going to take long to make and will be a welcome instant fix when you get tired of (or overheated by) the coat!
Identify the gaps in your wardrobe (including wardrobe winners that you want to make more of) and make a “to-sew” list. Beth of Sew DIY has a nice little sewing calendar you can download from her blog here.
According to the Craft Industry Alliance Sewing Planners are the next big thing, Colette’s sewing planner has been around for a while and more apps for “organising your stash” have emerged in the past year such as Cora and Sewologie. Personally I’d rather channel the work involved in setting up an app into a physical planner any day, but maybe that’s just the design school training of keeping a sketchbook that’s ingrained in me or maybe it’s the simple fact that fabrics are tactile and you need to touch them….
Whichever method you choose, the key is to keep it manageable – there are only 12 months in a year, so if your list has 25 projects, that’s 2 a month and do you really have that much sewing time? Also try and throw in at least a couple of projects that you know will stretch you and encourage you to learn some new skills.
I’ve written before about planning your sewing rather than rushing into projects to realise halfway through that you don’t like or need them….
- find my post on thoughtful sewing with a Sewing Planner to download here
- you can download my guide to making a Home-Sewn Collection here.


Pingback: MIY March Week 2 Tips, tips, tips! – 64 dresses
As I am preparing to move house I really should tackle my stash this way and at the same time donate one item of clothing bought or made every time I make something new. Reducing the stash but not accumulating clothes. Thanks for the tips and boost!
LikeLike
Sounds like a good plan! Glad my post helped. Good luck with the move 😊
LikeLike
Pingback: Introducing #makeyourstash – not your usual sewing challenge | Pilar Bear
Pingback: Pilar Bear
Pingback: Introducing #makeyourstash - Time to Sew
Pingback: Shop Your Stash – Planning Your Makes | Wendy Ward
Really useful post, thank you! Daft question: where on earth do you put knit fabric to dry it flat?! I feel I’m missing a trick or two…
LikeLike
Thanks! Not a daft question – you need an airer, I have one of these.
Hope that helps!
Wendy
LikeLike
Pingback: Shop Your Stash – Matching Patterns to Fabrics | Wendy Ward
Oh!! Moth-proving spray? What is it and does it work? I had never heard of it – does it make fabric smell? Any info is most welcome!
Thank you Wendy.
LikeLike
I use one that is supposedly lavender scented. Have to say I can’t smell the lavender!! However, it doesn’t smell like the old fashioned moth balls. It is quite stinky and horrible when you 1st spray it though – I make sure me and all my animals are out of the room for a while once I’ve done it. It doesn’t seem to leave a residual smell on the fabric. I think the one I use is called Zero.
LikeLike